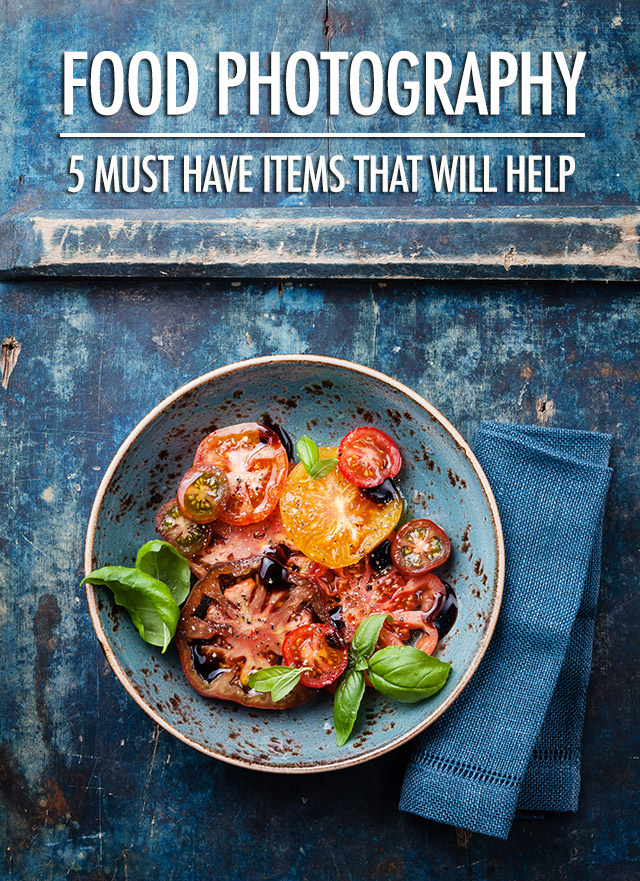
5 MUST HAVE ITEMS THAT WILL HELP IN YOUR FOOD PHOTOGRAPHY

Providing food photography tips is the one topict our readers can never get enough of! Whether it's food styling tips, backdrop suggestions, figuring out how their cameras work or salivating over food props, there's an endless fascination with the ins and outs of food photography. So here are 5 of our not so secret food photography gear essentials that we use daily for getting great food photos! (this post contains affiliate links**)
1. A 50MM LENS

A lens as the first item on the list might scare you — what kind of budget is she thinking?? If you photograph with a DSLR the thought of buying lenses can be scary; they can get pretty expensive! But if you want to invest in one lens that will help take your photography to the next level, a 50mm 1.8 lens will do it. And, it's notthat expensive.
Nikon, Canon and most other brands make a 50mm 1.8 lens that usually costs somewhere in the $120 to $130 range. The 1.8 refers to refers to the lowest f-stop the lens works at. In a nutshell, the lower the f-stop, the finer the range of focus you can get. 1.8 is very fine, so this is what will give your food images that nicely focused hero with the soft, out of focus background. A lower f-stop also allows you to photograph in a low light situation.
2. A LIGHTBOX
A lightbox can be extremely useful, especially in the winter months when daylight is at a premium. There are tutorials all over the internet on how to make your own, so if you're handy with some tools you might want to give it a go.
At the last FBC conference we had a handful of Foldio lightboxes scattered throughout the dining areas and were a little caught off guard by how incredibly popular they were! We very unexpectedly wound up selling our extras right on the conference floor! They're very handy, light, fold up neatly into a carrying case, and have several different backdrops and two LED light strips that allow you to adjust the brightness. They work well whether you use a DSLR or a smartphone for your photography and they help you control shadows.
3. A REFLECTOR

A reflector is a huge help for bouncing light and reducing shadows. Usually when you purchase them you get a 5-in-1 kit that will include the standard white, and also gold, silver, black and translucent. The coloured ones will help you reflect light back on to your subject (also very handy in low light situations). White is most commonly used but gold and silver add a different cast to your lighting. Black can actually absorb light. The translucent is excellent, especially in summer when you may be dealing with harsh sunlight and shadows, as it acts as a light diffusor.
Reflectors usually fold up quite neatly and pack into a small bag you can easily pop into your camera bag. And they come in a range of sizes so you can even find tiny ones that you could potentially use in a restaurant or other tight space!
4. FOAM BOARD
Foam board is brilliant and cheap and can be used in so many ways! You can buy it in a range of sizes in white or black at any office supply or craft store and it's very inexpensive. Here are just a few ways you can use it:
- As a reflector — in some cases it's easier to use than a reflector because you can prop up multiple sheets with something heavy behind it, freeing up your hands (but it isn't as easy to transport as a fold up reflector).
- As a backdrop — this is especially true for the black foam board; it's great for creating moody dark shots.
- As a background for overhead shots — stark white backgrounds are very popular on Instagram and foam board makes this easy! Because you can buy it in very large sheets it works well for table settings and you can easily lay it on the floor.
5. A LARGE ROLL OF WHITE PAPER

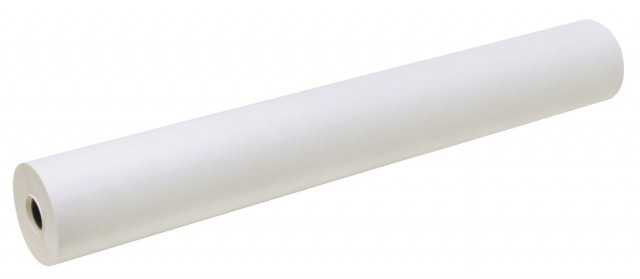
A large roll of white or craft paper is fantastic to use as a seamless backdrop if you don't have a lightbox that comes with one. Just tear off the amount you need and hang it with some tape so that it forms your backdrop and your surface. This is especially useful if you're looking to create that very bright, minimalist white background for a food photo!
BONUS ITEM: A HANDS ON FOOD PHOTOGRAPHY WORKSHOP
One of the best investments you can make in your photography is a real, in-person food photography workshop. You don't need to wait for a food blogging conference to attend one. One-day workshops often run in large centres regularly. Join the mailing lists of local photography schools or camera shops. Google "food photography workshops" in your city. They can run anywhere from fifty or sixty dollars to several hundred dollars for a four to six hour workshop, depending on the instructor and what's being covered.
A workshop will get you in a live shooting environment, help you learn your camera and, perhaps most importantly, get immediate feedback from an expert. That alone is well worth the price of admission!
Fantastic
ReplyDelete